Setting up your payment is required to have access to Quests and some Missions that provide payouts.
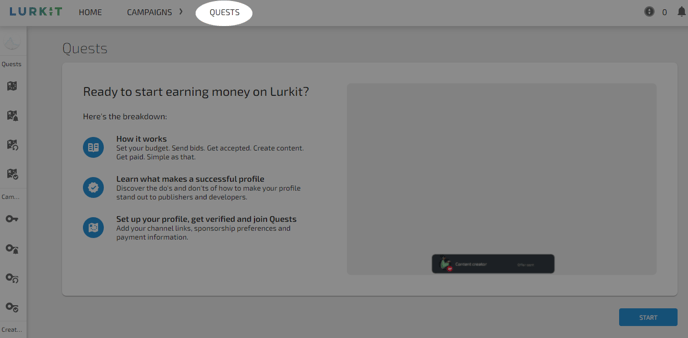
To begin, click on the Quests tab after logging in. From here, you will be prompted with a multi-step setup.
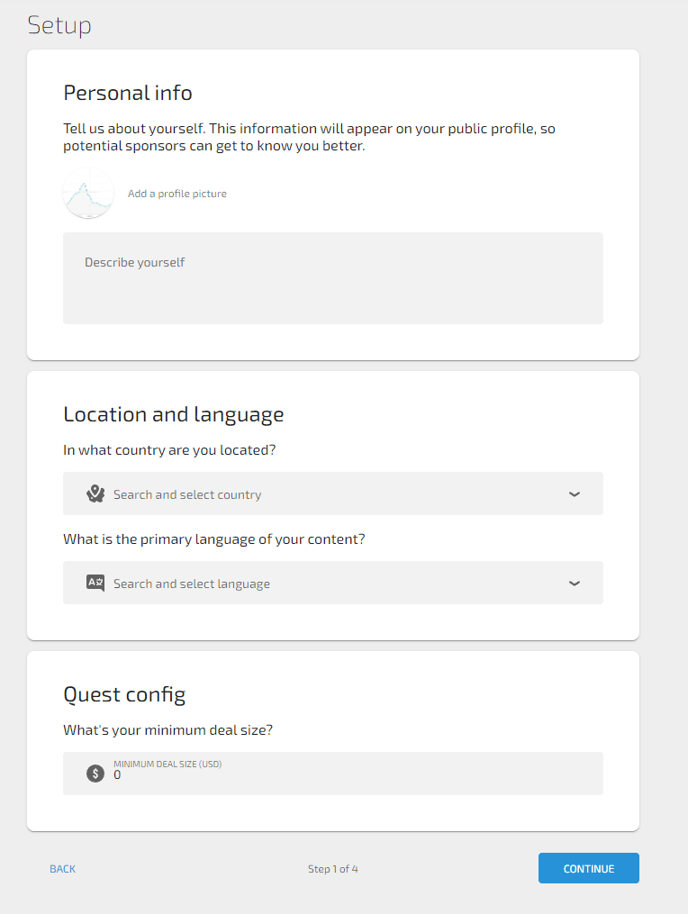
Enter a short bio and add a picture if you want. Choose your Language and Location that will help you find compatible Quests.
You can also set a minimum deal size, meaning the smallest amount of money you are willing to submit content for.
Setting up a minimum deal size will also allow you to filter any offers from being sent to your notifications and mail if they are below the value set!
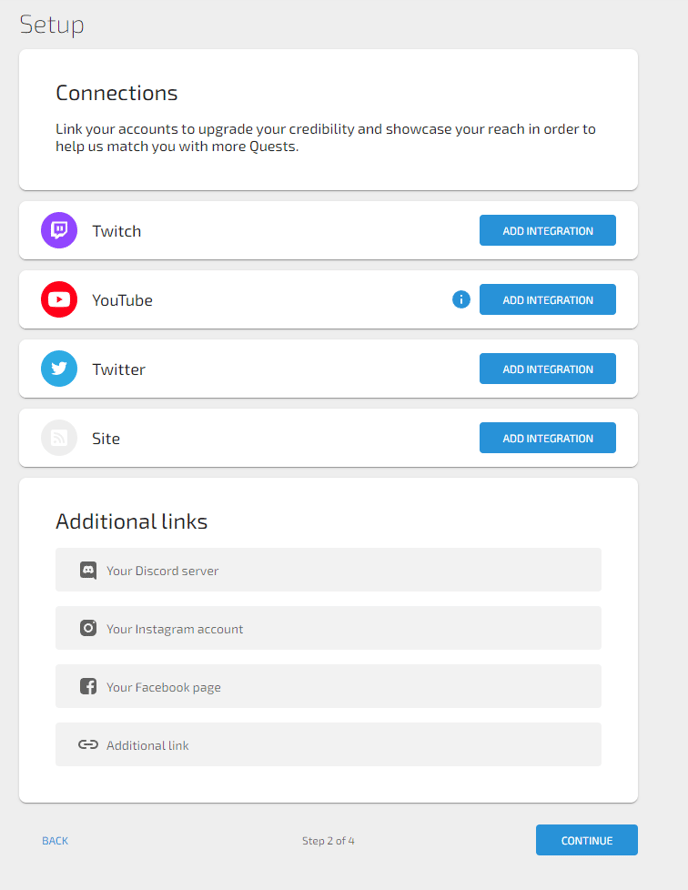
Next, set up your integrations. Double-check your YouTube and Twitch accounts are connected, and add additional integrations such as Twitter or a website.
You can also add social media accounts in the Additional Links section. This is helpful for Companies to get an overview of who you are and your reach as a Content Creator.
Step 3 of the Setup is confirming your Email Address and checking which types of notifications you'd like to receive related to Quest.
Finally, in Step 4, you need to set up your payment.
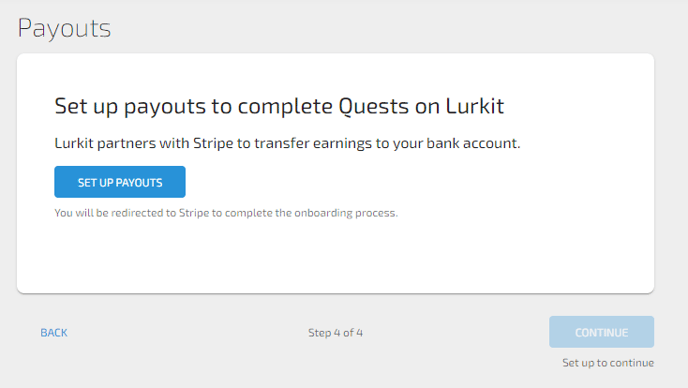
Lurkit uses Stripe for secure payments.
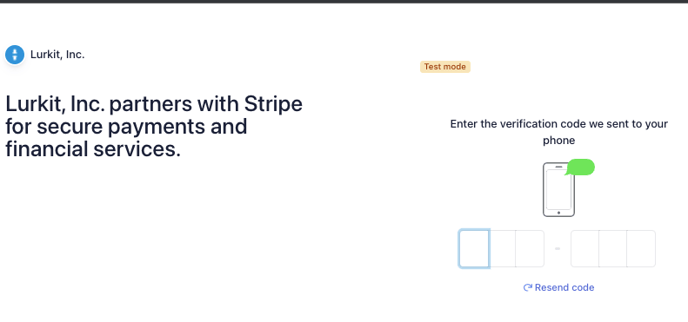
Click on Set Up Payouts, which should open up a new page on Stripe. Begin by putting in your information for your phone number and email address. Next, you will have to verify your device by entering a code that is sent to it.
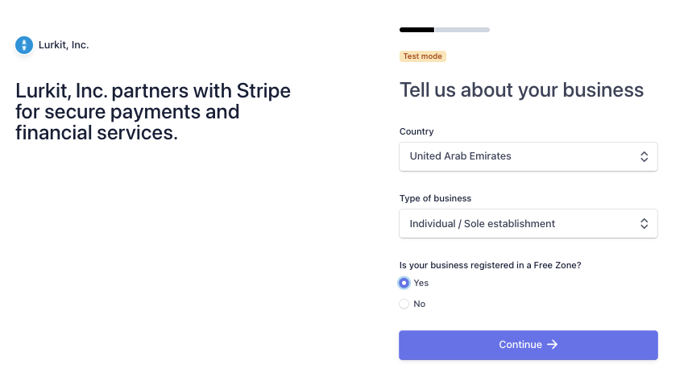
Once your phone is verified, continue to fill out your information with your country, as well as your type of business.
For most streamers, you can put "Individual/Self Establishment" unless you have your own registered company.
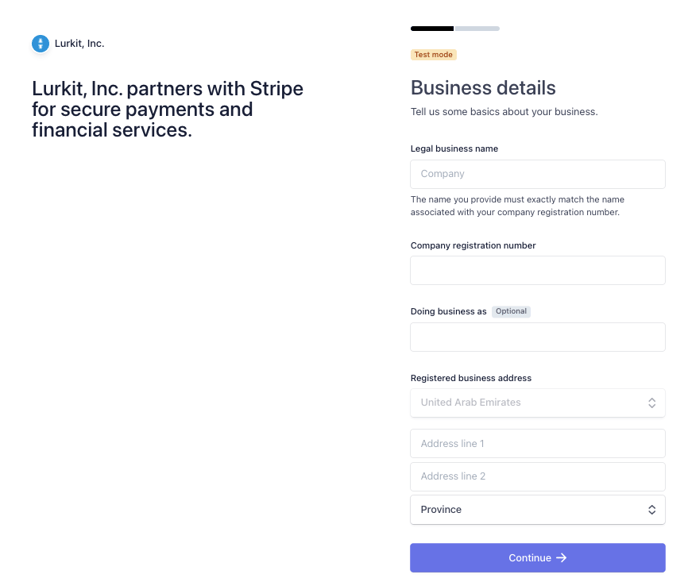
Next, you need to fill out your business details. As an Individual or Sole Proprietor, you don't need to fill out the Company Registration Number section. Provide your Business Address and continue to the next section.
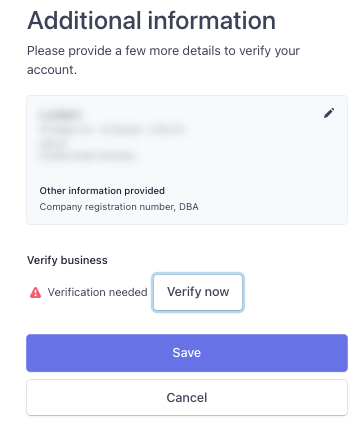
Stripe needs additional information to verify your business, so press the Verify Now button to go to the next section. You will need to provide a business document.
In most countries, you can use a passport, driver's license, or a state-issued ID card. For more information on the types of documents accepted, can check out this page.
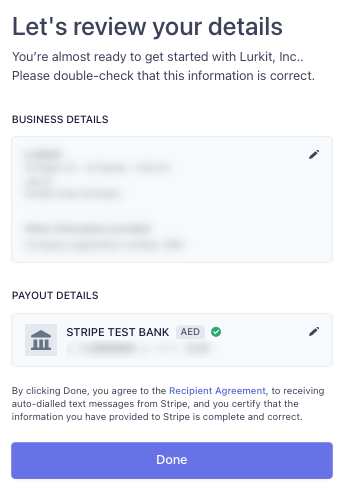
After submitting a document, the final page reviews your details, and press Done once you confirm everything is correct.
And you're done! Payment set up.
If you are done with your Stripe Onboarding but unable to access Quest offers, please reach out to support to receive assistance