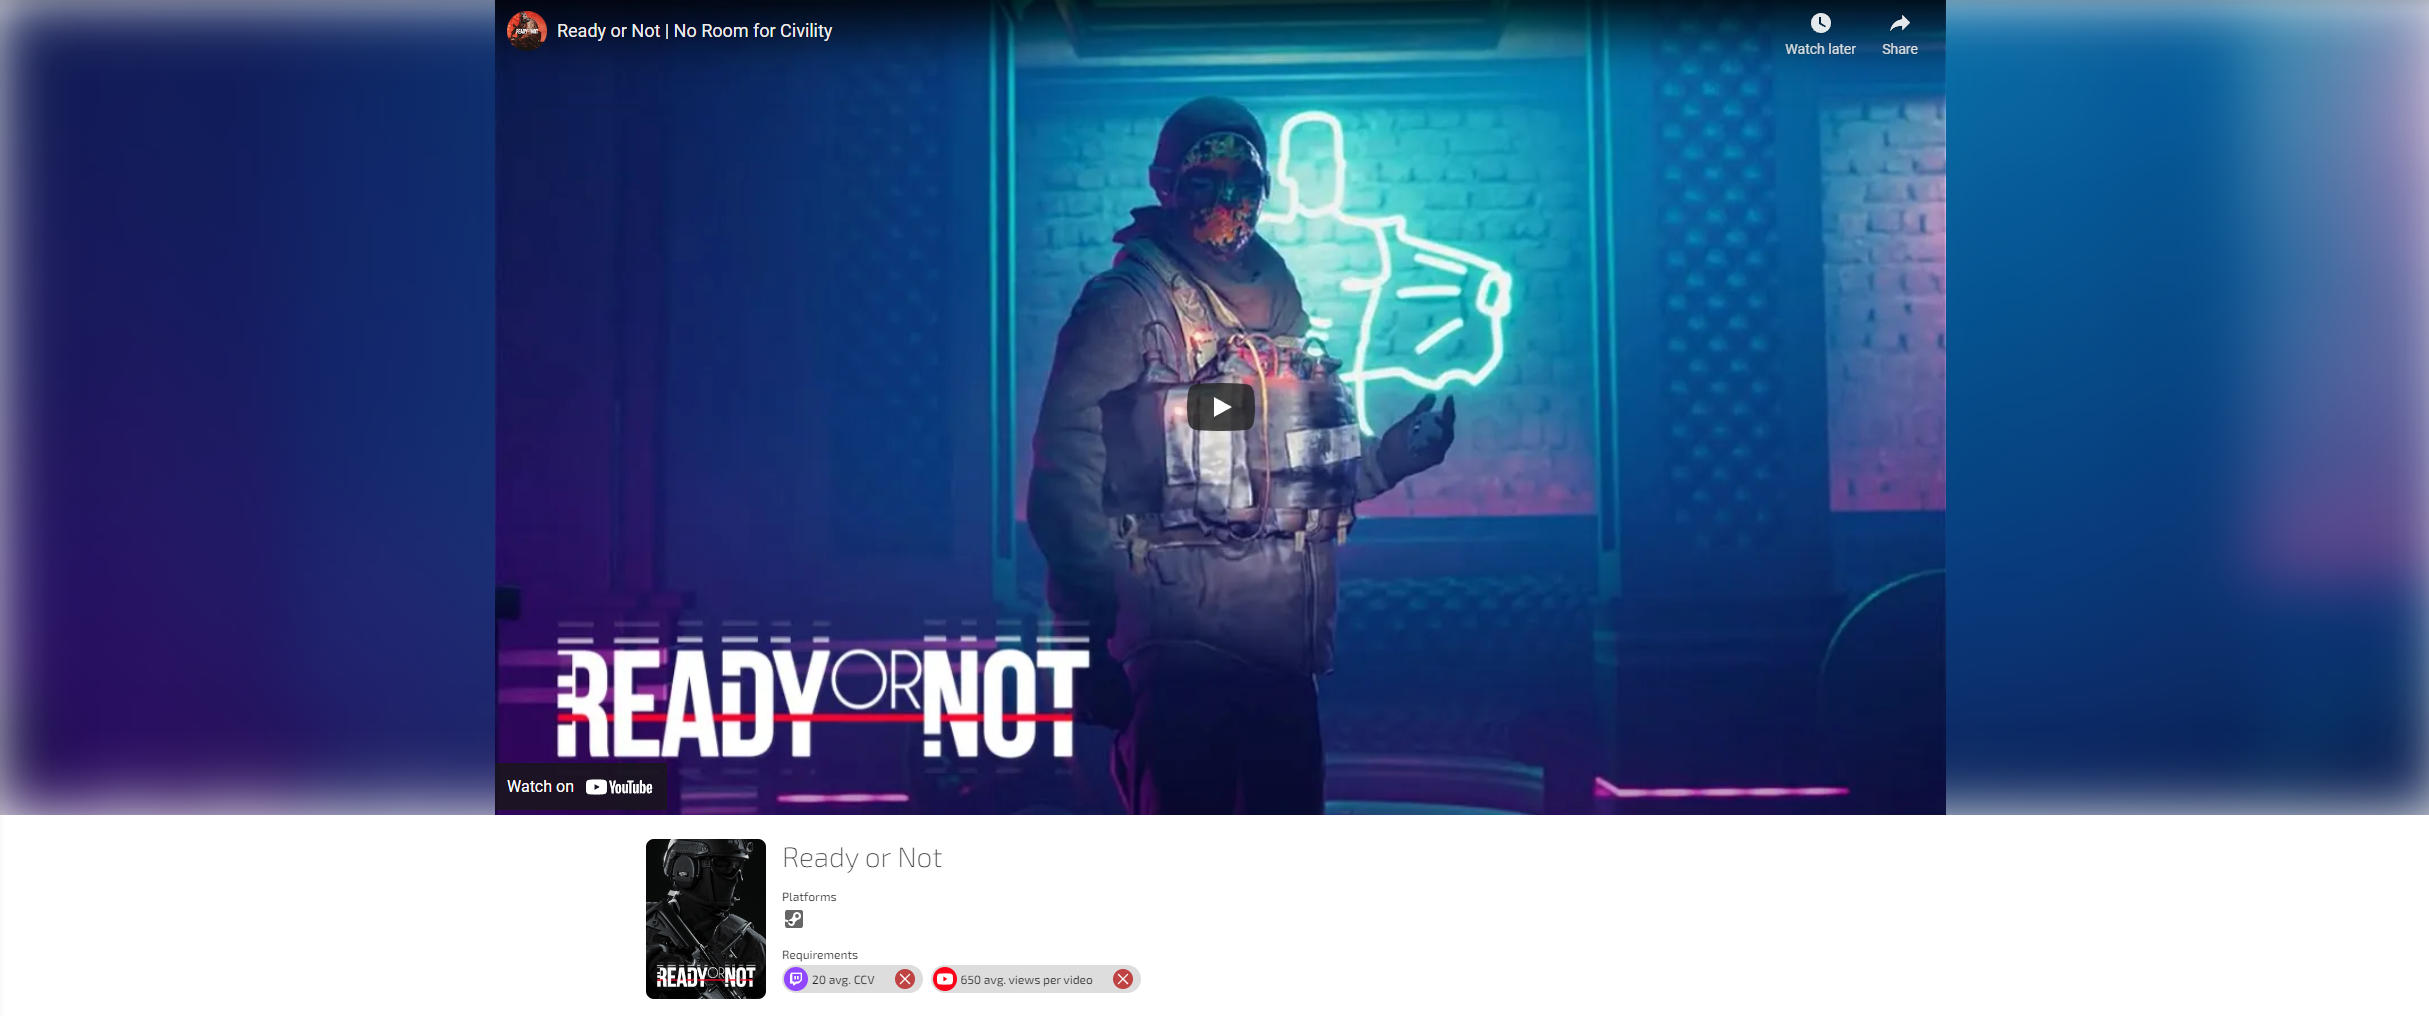
For the sake of this article, let's look at the Campaign Ready or Not by VOID Interactive.
The Campaign page opens with a video in the banner, the game art as the icon, and the basic requirements.
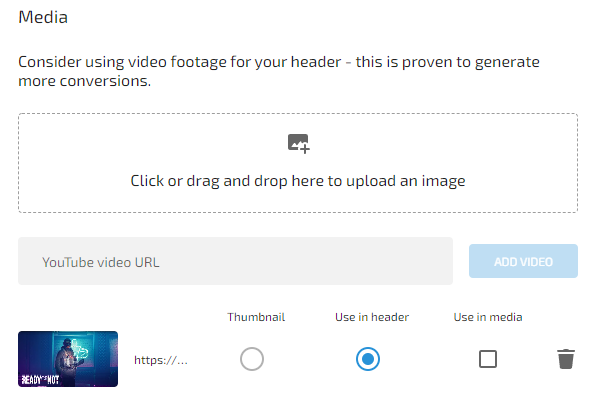
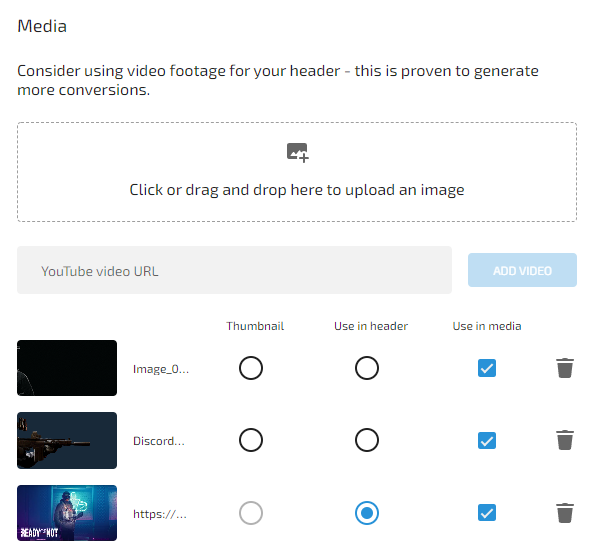
To add a video to the top banner, go to the Campaign page > Edit Campaign > Game Info (you should be here) > Media section.
You can add your YouTube trailer or video where it says YouTube video URL and press Add Video. Next, make sure to select the Use in header option. The video should then show up at the top of your Campaign!
Note: Do not use YouTube short links, as the system doesn't accept this format. Simply paste the full URL.
Make sure to add your game art to the media and select Thumbnail for it for it to display as the thumbnail picture. The other values in the first picture are the Campaign name of course, and the Requirements, which you can add in the Requirements tab when editing the Campaign.
Let's take a look at the next part of the Campaign page: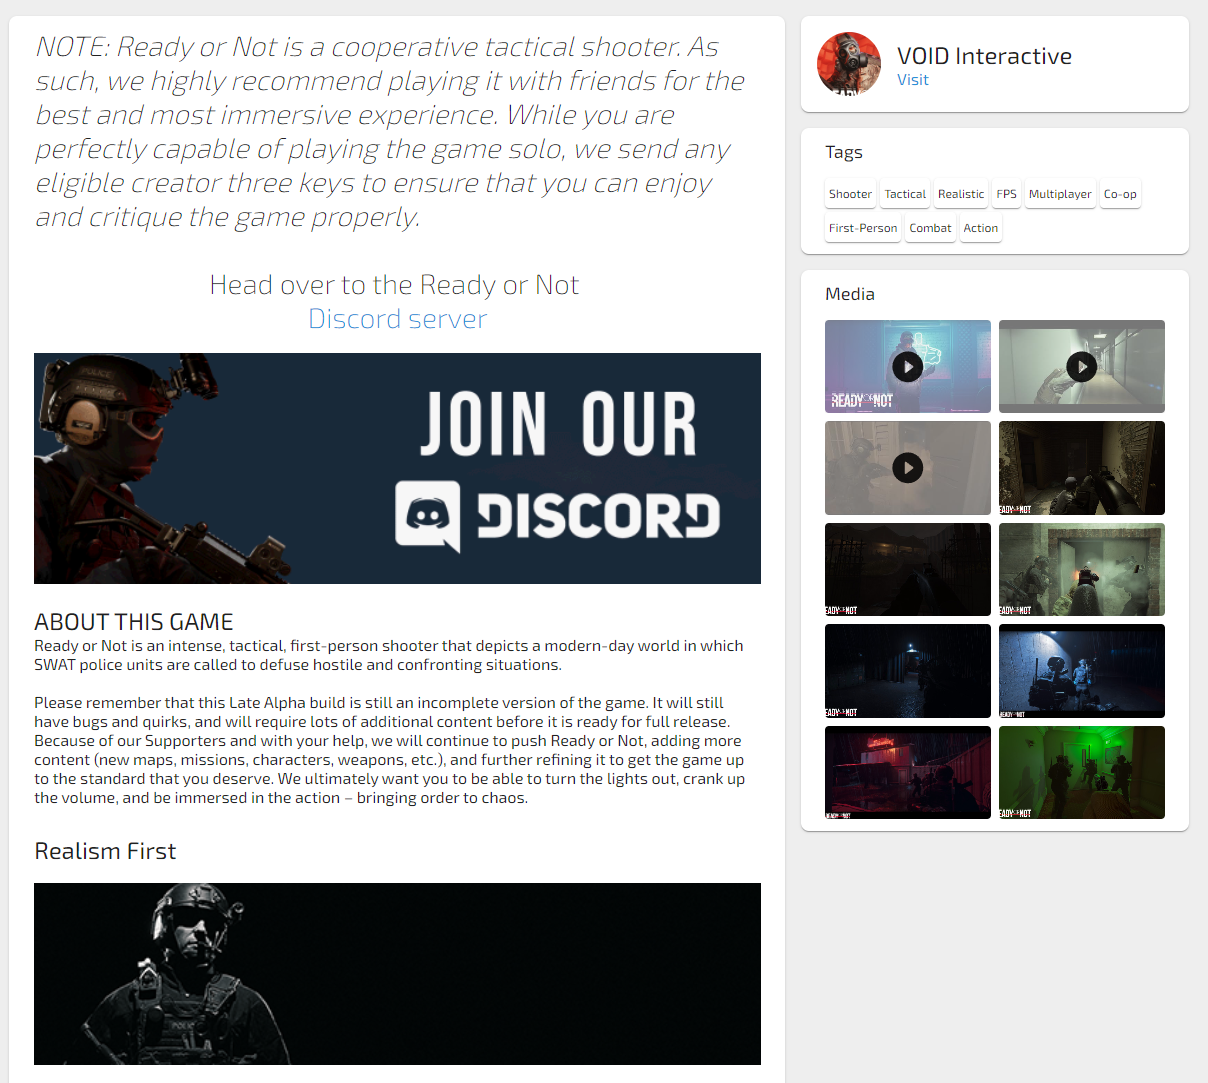
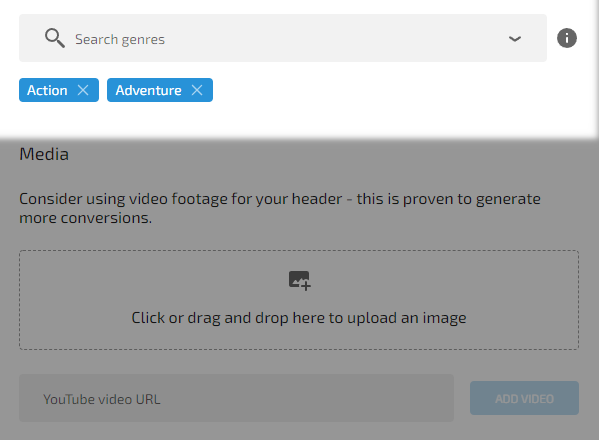
Here we can see a few things going on. You can see the good use of tags. You can add tags in the Campaign settings under the first Game Info tab.
Media
Under the tags, you can also see the Media section. This part is pretty simple. Just add media in the Game Info tab and make sure you tick the Use in media checkbox and it'll add it to the Media section
There are two important parts to consider. Thumbnail and Header (or banner). Make sure to use your game's box art for the Thumbnail so it stands out from other Campaigns. As seen in the example we're using, a video is used for the banner which can be played. Be sure to choose the correct bubble when choosing your Thumbnail and Header!
Description
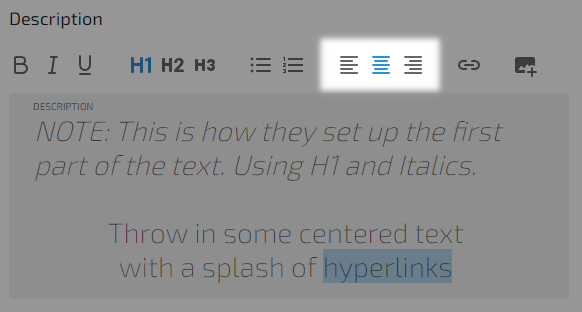
You can get creative with the description of the Campaign, which is what Creators will read and see when they land on it. In the Ready or Not Campaign page, it starts off with a note to Creators. This can be done by using the different Header sizes.

Another neat thing you can do is align the text to your liking. This can be done using the three icons with lines on them.
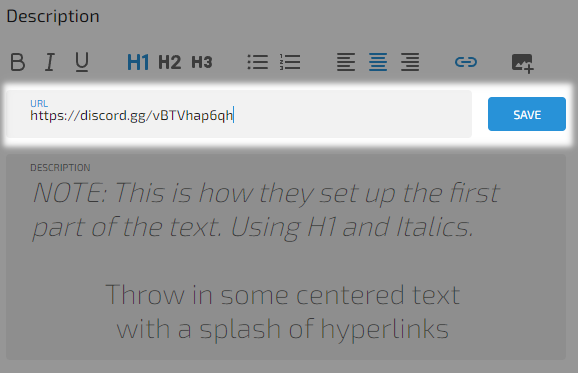
To hyperlink text, highlight the text and click on the link icon that pops up on the top-right of the formatting tools.

Next, just put whatever link you want, hit Save, and the text will light up and be clickable to wherever you want.
Next, the Campaign page has a few images and even gifs. You can use the image icon with the + sign on it on top of the text box in order to add images to the Description field. Add whatever you like to make the page look more alive.
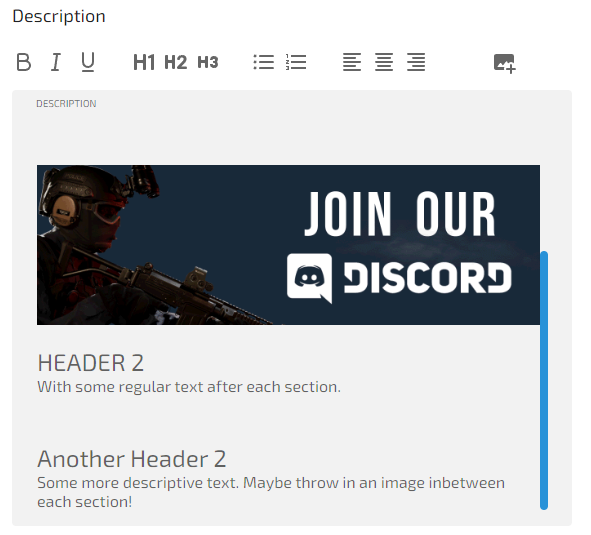
Be sure to play around with the formatting. Experiment with Header sizes, bullet points, and images. Bold sections, or italicize them to your liking. Sprinkle images throughout the description to keep it fun and engaging.
And that's it! A few more images and some texts and you have the awesome Ready or Not Campaign page! Hopefully this helps inspire you to create your own Campaign page!